Electronic Mirror from Cheap Parts
-
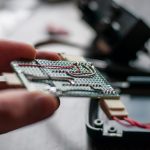
- Control Board Back Look
-
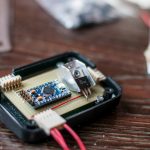
- Control Board Front Look
-
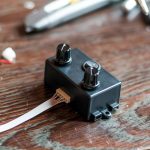
- Control Box
-
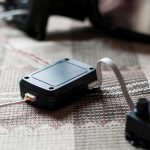
- Control Board and Control Box
-
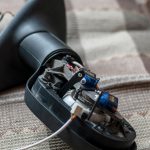
- Electronic Mirror Side Look
-
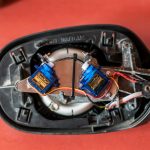
- Electronic Mirror Back Look
-
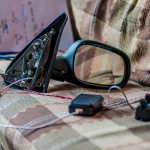
- The Whole System
Some years back someone broke my right mirror which lead me to creating this one out of the cheap parts that I had at hand.
All the necessary parts are : Arduino Microcontroller (The cheapest you can find ), Two servo motors (from ebay or else cheap nothing fancy), One L7805 (to convert from 12 volt to 5 in order to power the whole thing),Two potentiometers 10K and some cables ,couplings, boxes etc.
A lot can be done better and smarter but this will work .
For example the 7805 is hot and isn’t efficient and can be replaced with a more modern impulse voltage regulator but for the fun of it all of this will work.
In the video you will see that the servos are a bit noisy while working . This is because of the very basic code i have written to make it work. Excuse me for this .It was a while ago and I prefer to make something work and figure things out later as I go forward.
You will find the code after the video in the bottom of the page…
CODE FROM HERE ….
#include <Servo.h>
Servo myservo;
Servo myservo1;// create servo object to control a servo
int potpin = 1;
int potpin1 = 0;// analog pin used to connect the potentiometer
int val;
int val1;// variable to read the value from the analog pin
void setup()
{
myservo.attach(6);
myservo1.attach(5);
// attaches on servo on pin 6 and one pin 5 to the other servo object
}
void loop()
{
val = analogRead(potpin);
val1 = analogRead(potpin1); // reads the value of the potentiometer (value between 0 and 1023)
val = map(val, 0, 1023, 0, 57);
val1 = map(val1, 0, 1023, 0, 120); // scale it to use it with the servo (value between 0 and 180)
myservo.write(val);
myservo1.write(val1); // sets the servo position according to the scaled value
delay(20); // waits for the servo to get there
}
TO HERE (DON’T COPY THE BOLD TEXT 🙂 )
I don’t have a board layout because it was done in 2 or 3 hours on experimental board and you can easily find how to power and attach servos to an Arduino in their site here
I will be glad if I gave you an idea to think about.